In this post we give step-by-step instructions for sending email newsletters using our email marketing software, SendBlaster.
In a nutshell, SendBlaster provides all you need to create and send personalized email newsletters in just a few minutes.
1.CREATE A DISTRIBUTION LIST
The first step is to create an address list. If you already have a database, you can simply import it into SendBlaster with just a few easy steps.
Open SendBlaster and click on Lists and Addresses on the left side bar, then select Manage lists.
Now click on the “+” symbol and enter a name for your list.

You’ve just created a new email list!
2.IMPORT EXTERNAL DATABASE
Now you can proceed by adding your existing contacts in a number of different ways. In fact, SendBlaster can easily import addresses from many external sources, like Microsoft Outlook, Windows Live Mail, Mozilla ThunderBird, Microsoft Excel and Access, text files or websites.
For example, you can import a list of addresses from Microsoft Excel.
Just click on Import, select the list you want to import, then select Import from the external text file.
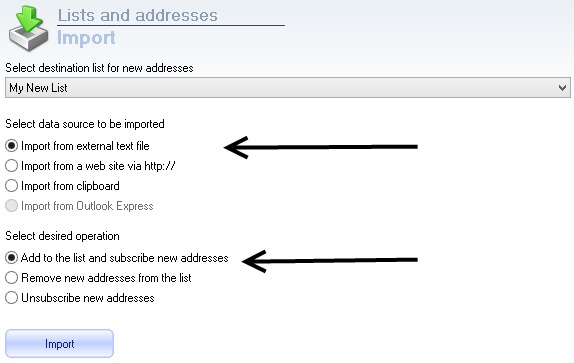
It’s a good practice to open the original file and check which fields are included.
In fact, before proceeding with import you need to set some options like format (if delimited or free), field delimiter and check to make sure the first row contains any field names.

When you are done, click on Next. Then select the fields you want to import from your original file. You can choose import all fields or just some of them.
Click Ok and wait for the import process to complete.
Now if you click on Manage lists you will see that all the Excel contacts have been imported into the list!

IMPORTANT NOTE
Send your email newsletter only to recipients who gave you their consent and indicated they want to receive receiving emails from you. If you send newsletters to email addresses that have been purchased or harvested from the internet you risk being marked as spammer.
3.COMPOSE MESSAGE
After importing your list, you can start composing your email message.
Simply click on the Compose message link on the left side bar.
You can either use a free template, create a new message from stratch or import messages from .eml or .html files
Let’s create a message starting from a template. Click on Choose template and select one from the big list of free templates.
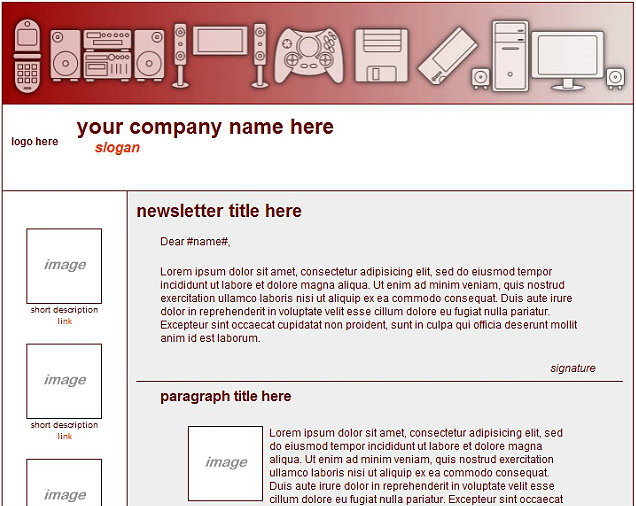
Now you can proceed by editing the message, which can be customized any way you like.
Feel free to add text, images, change logos, add colors, etc.
4.PERSONALIZE WITH TAGS
SendBlaster allows you to personalize your email messages using special tags. When the message is sent, the tag is replaced by value read from the recipients text in the specified field.
For example, if your list includes a “Name” field and a “Surname” field, by typing in the message body a text like:
Dear #name# #surname#
the recipients will receive a customized message like :
Dear Mario Lopez
Dear John Bolt
Dear Maria Stuart
5.INSERT UNSUBSCRIBE LINK
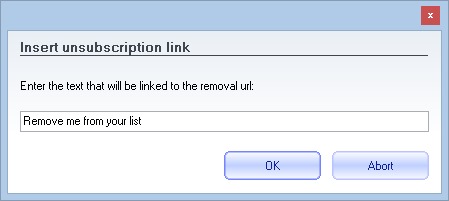
Do not forget to add the unsubscribe link to allow your users to opt out easily.
Just press the unsubscribe link button in the compose editor and type the linked text that will appear.
6.TRACK YOUR NEWSLETTER
When you are finished editing your email newsletter, simply insert Google Analytics Code and TrackReports Code
![]()
if you want to get detailed reports about your mailing – like open rates, click rates and much more.
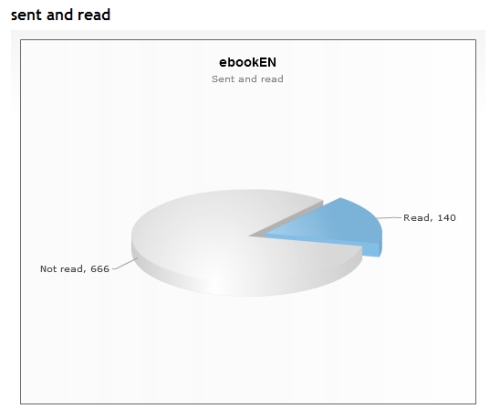
In particular, Trackreports lets you know how many emails were delivered, read and clicked, while Google Analytics provides powerful tools to verify the performance of your campaigns.
All the links in the message are automatically modified according to the chosen tracking system, and the necessary code is added. Adding Google Analytics or TrackReports code must always be the last thing you do to the message – both methods modify the final code, therefore users should finish editing the mail first.
It is possible to use both systems to track the message. In this case remember to add Google Analytics tracking first.
7.PREVIEW YOUR EMAIL
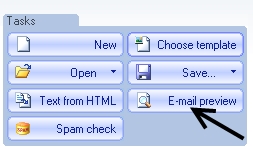
Before sending the message, we recommed that you verify how the message will be shown in email clients by using the E-mail preview button. The email preview feature will use sample sender data defined in My personal data section of the Fields screen.
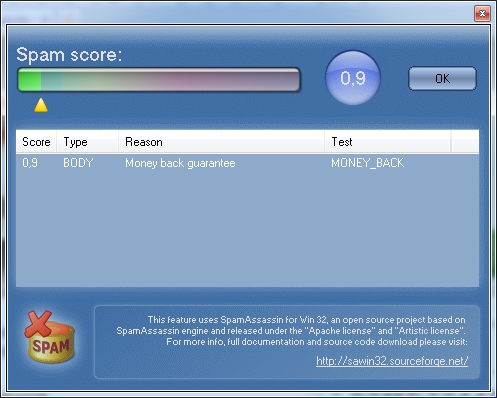
8.CHECK SPAM SCORE
It is also possible to perform a spam-score check on the fly while editing the message by using the Spam check button. Spam score checking is based on the popular SpamAssassin engine – one of the most common antispam filters used by email servers. By using this advanced SendBlaster feature, you can avoid having your message labeled as spam by mistake.
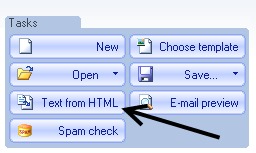
9.CREATE PLAIN TEXT VERSION
Click on Text from HTML (we definitely recommend it). This way SendBlaster will automatically extract plain text from the message to make it readable from devices that cannot display HTML emails.
10.SEND YOUR NEWSLETTER
Now you have come to the very last step. It is time to set up the SMTP server and start sending your messages.
You can decide to send out the mailing later using a specific day and hour, or you can proceed with immediate sending.
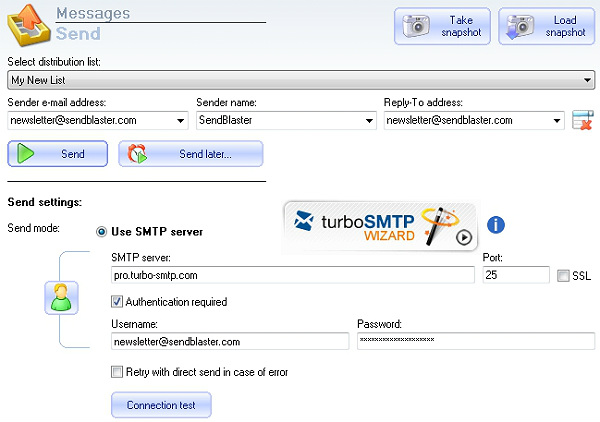
In the Send panel, make sure you enter the correct information. If you fail to verify the information, your mailing may not to be sent correctly.
Select the distribution list (be careful!), enter the sender email address, the sender name and a different email addresses for replies (optional).
In the Send settings you can choose the way you want to send your mailing – SMTP server or Direct Mode. Most of our users choose to use a standard SMTP server or a professional SMTP Service for higher deliverability.
Enter all the data regarding your SMTP server and click on Connection test to make sure that everything is correct and working.
Double-check the SMTP configuration you have just entered and then hit send.
A new window will popup and show you the log of your activity.
Congratulations! Your email newsletter has been sent.
After the email has been sent, you can go to the TrackReports section to see how many emails have been read and how many links have been clicked in real-time.
This is how to send an email newsletter with SendBlaster.
Got questions?
Leave comments below. We will do our best to help you resolve your problems and answer your requests.