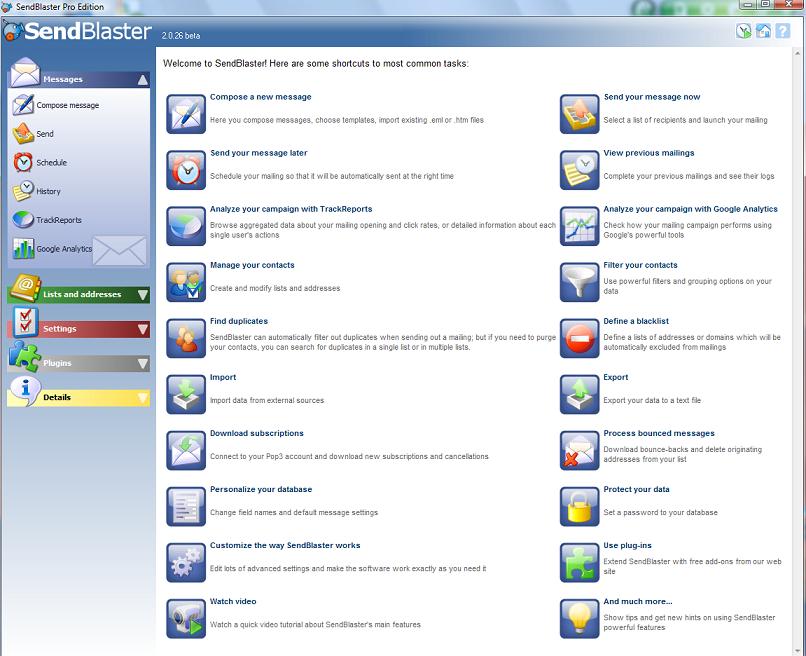
SendBlaster 2.0.116: List-Unsubscribe header, Sharing Buttons and New Report Tools
Good news for everyone! We’ve just published a new release of SendBlaster (v. 2.0.116). All SendBlaster 2 users can download it and install it free of charge.
What’s new? We have included some general enhancements and introduced some cool new features that we are sure you’ll love.
In particular:
Facebook & Twitter Sharing buttons
SendBlaster…